
For a more detailed view of WAGO interlocking here is an interlocking chart dating from 1997. There are a number of differences between this chart, the 1998 timetable and the facts on the ground in 2012 and I will get into them as we move through the interlocking. All of the differences are of the "stuff being removed" variety" so the chart has everything that was ever part of the plant.


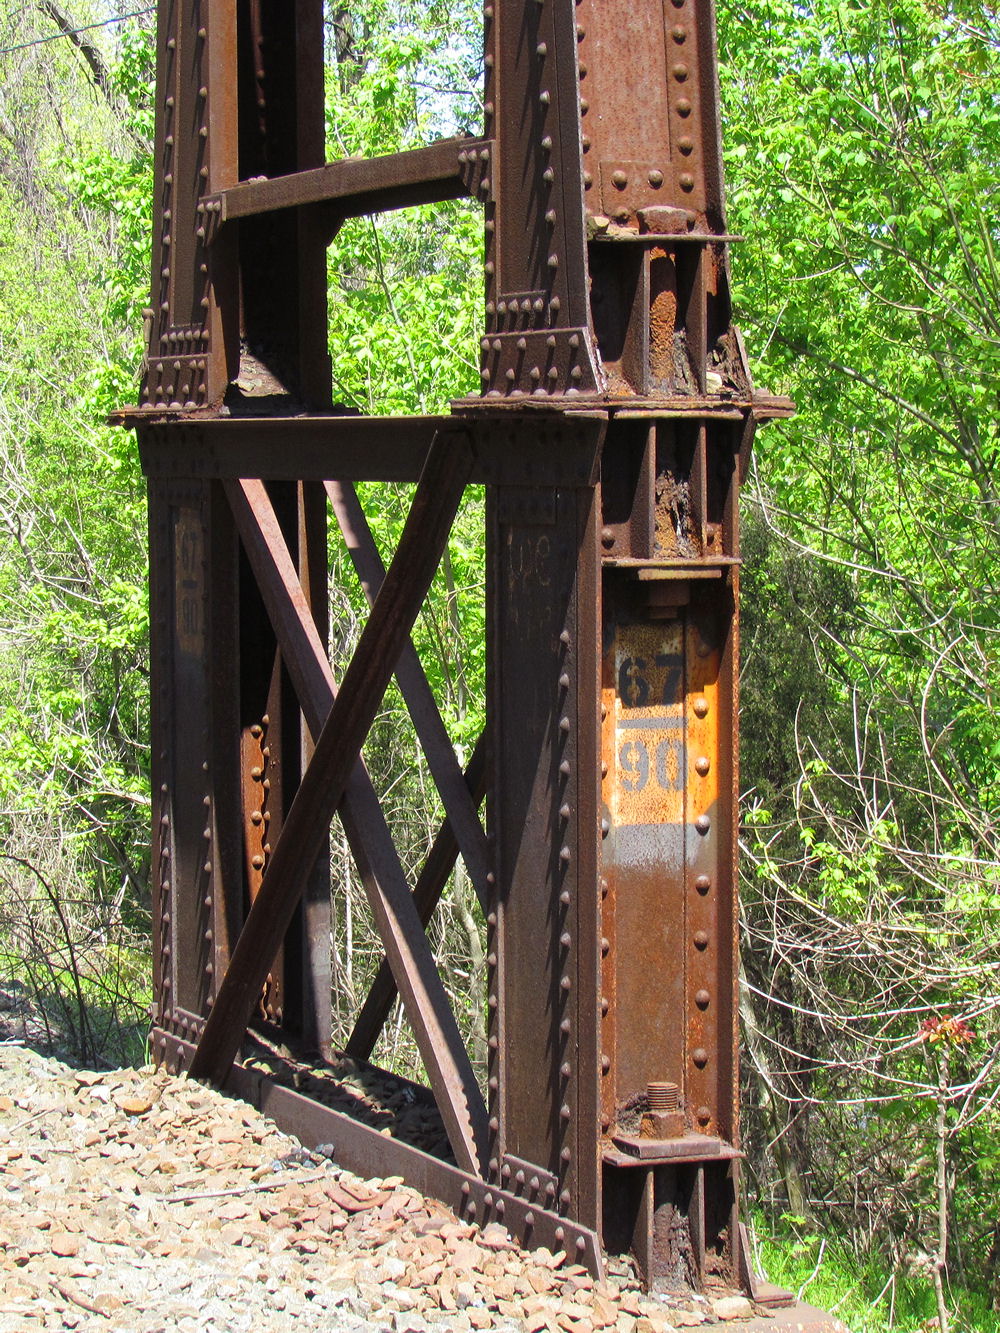
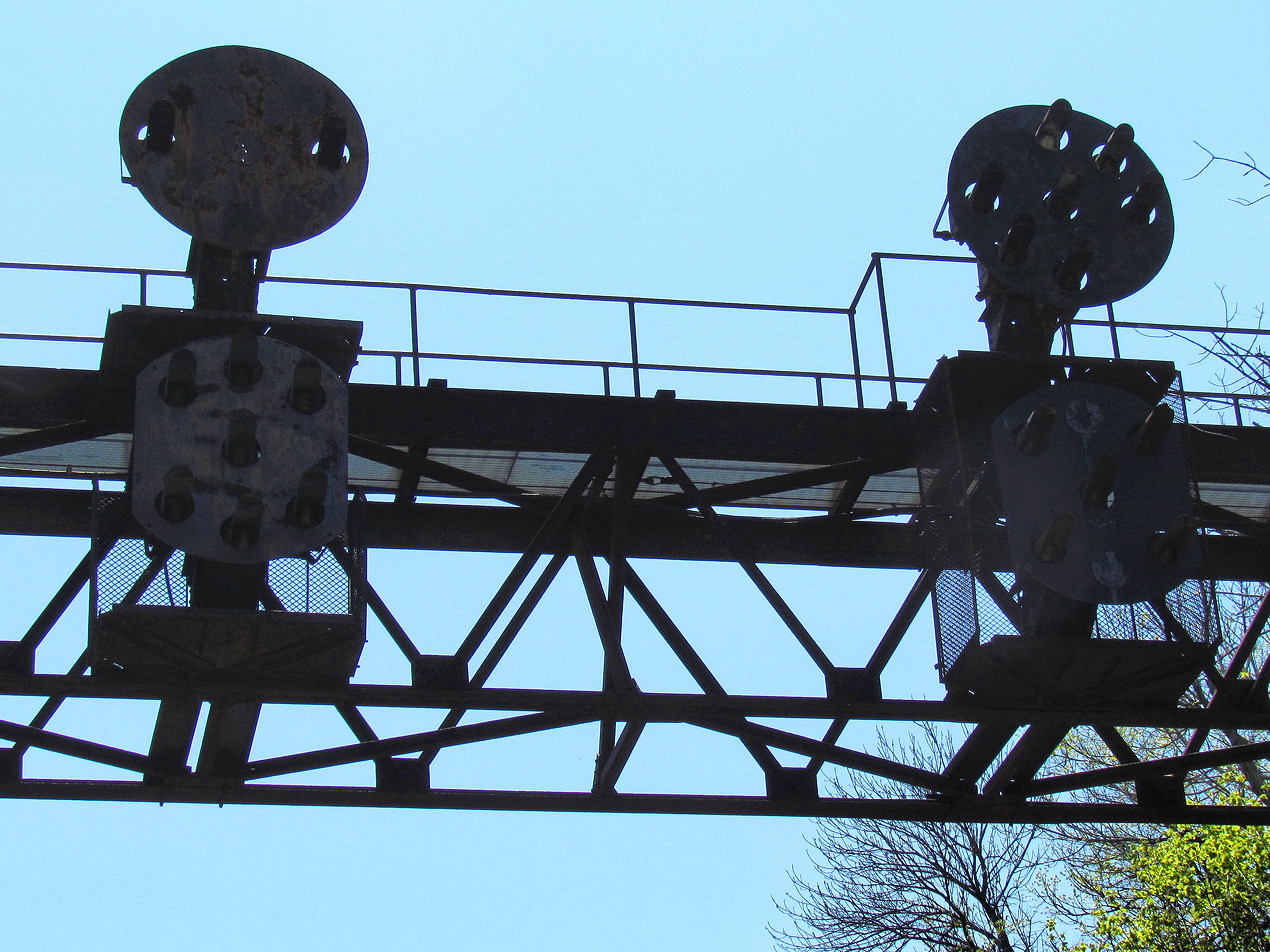
WAGO interlocking was typical for 1980's Conrail interlockings, making use of existing signaling arrangements as much as possible. In this case the new interlocking was situated at NCRR milepost 67 ABS signaling location south of CLY which allowed reuse of the old PRR signal bridge. Like the other 4-track ABS signal bridges on the 2+2 section this one was elevated on risers (note the old milepost) to clear the overhead catenary when they were installed in the late 1930's and due to the NS re-signaling this is probably the only surviving bridge of this type. Note the disused mounting for the westbound Enola Branch ABS signal at the right of the gantry.

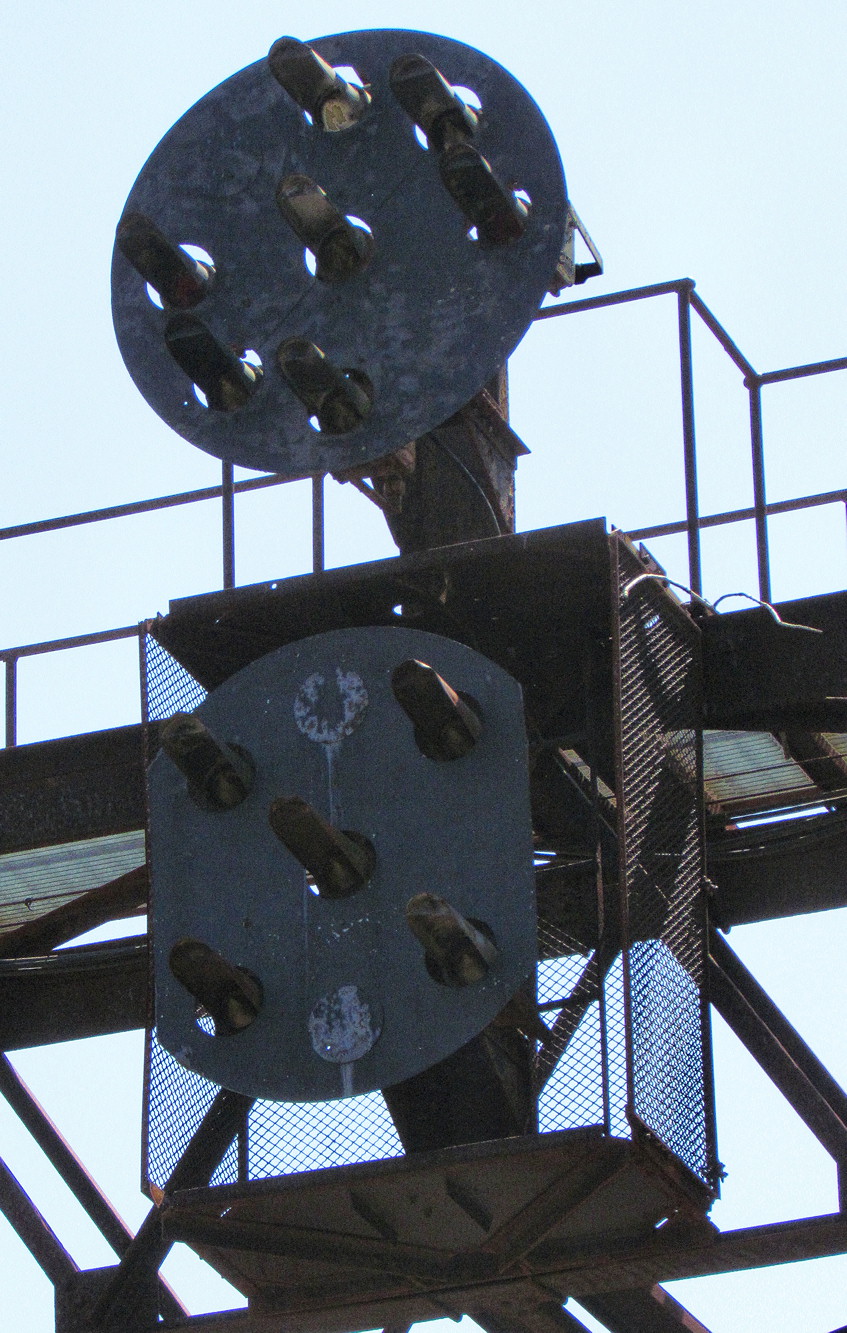
For East (South) bound train WAGO presented a crossover from track two to 2, an interlocked lead to the Brunner Island Power Station and a connection to the Northern Central, now known as the York Secondary. Both the power station and York Secondary tracks were non-signaled and would normally result in Restricting indications. As you can make out on this backlit photo of the eastbound signal bridge the Track 1 "2E" signal is equipped to display a Slow Approach indication as well as restricting. As the interlocking is quite long this was most likley used with an "End of Block" sign when entering the York Secondary.

The Track 2 "4E" signal likely displayed Slow Approach as well, but this distinction was obscured by the additional ability to display Medium Clear and Medium Approach indications for wrong-railing trains crossing over to the "right" direction track. If you are a bit confused here since I already said that WAGO only contained a single facing point crossover you would be correct. WAGO was originally built with a full set of crossovers and later had one removed due to infrequent use. The full lower head on the 4E signal is an artifact of this older configuration.
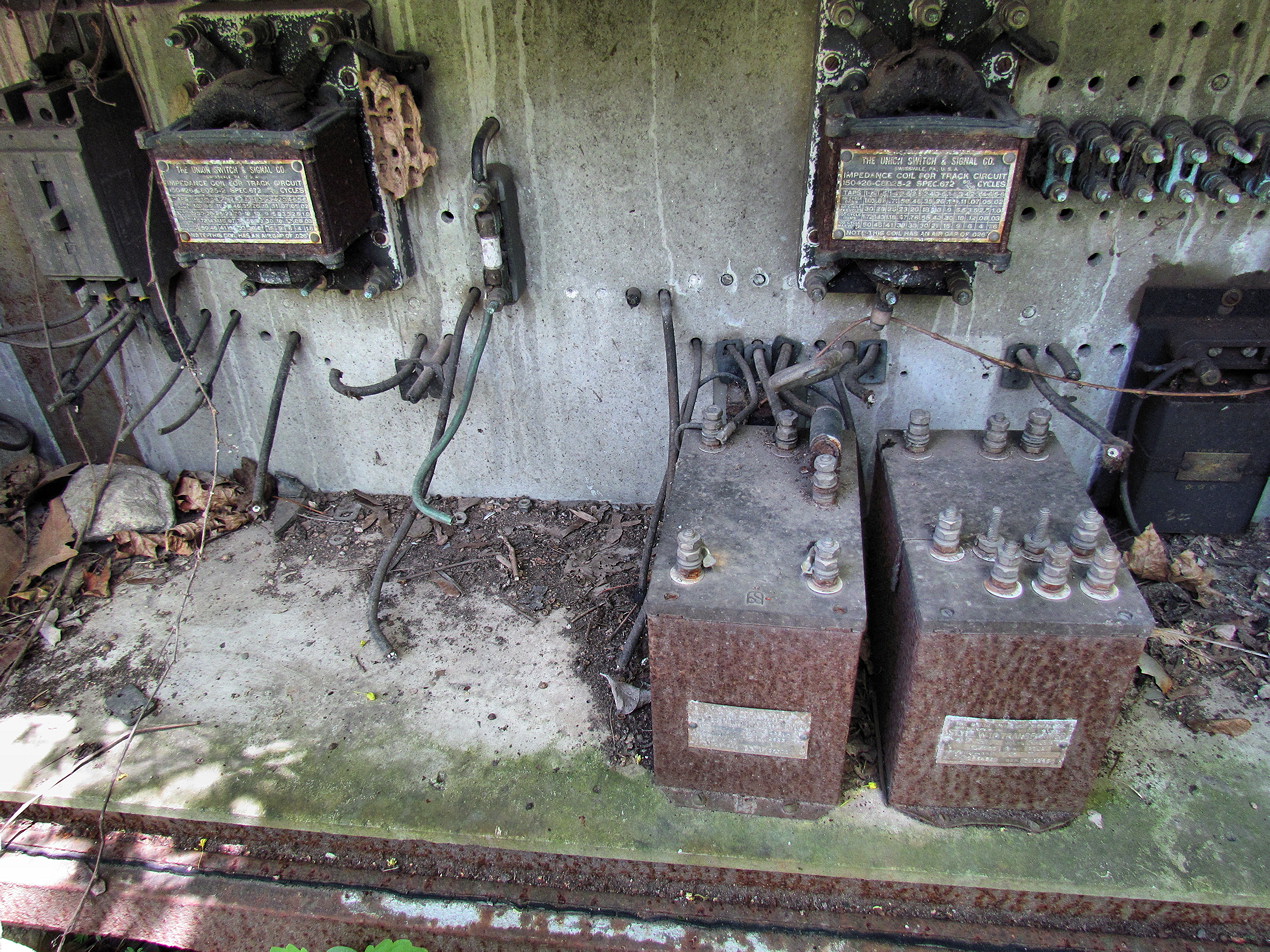
The old ABS relay cabinet is still in place at the west end signal bridge and still includes a few old signal transformers.

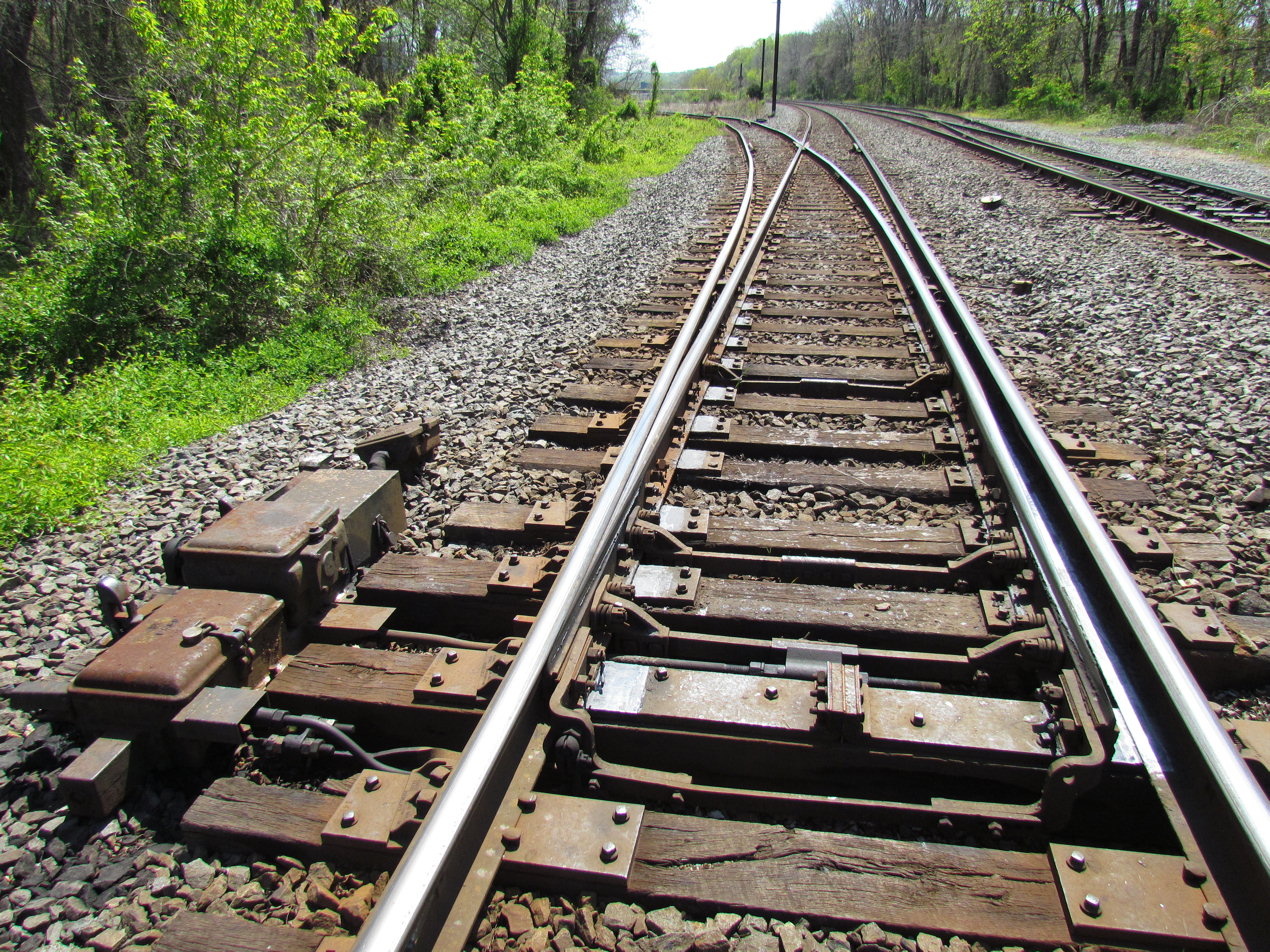
The only remaining crossover at WAGO, #1 switch, appears to have recently undergone some basic upgrades including roller mounted blades and additional electric point heating which includes loop heating elements under the points in addition to longitudinal elements on the rails.

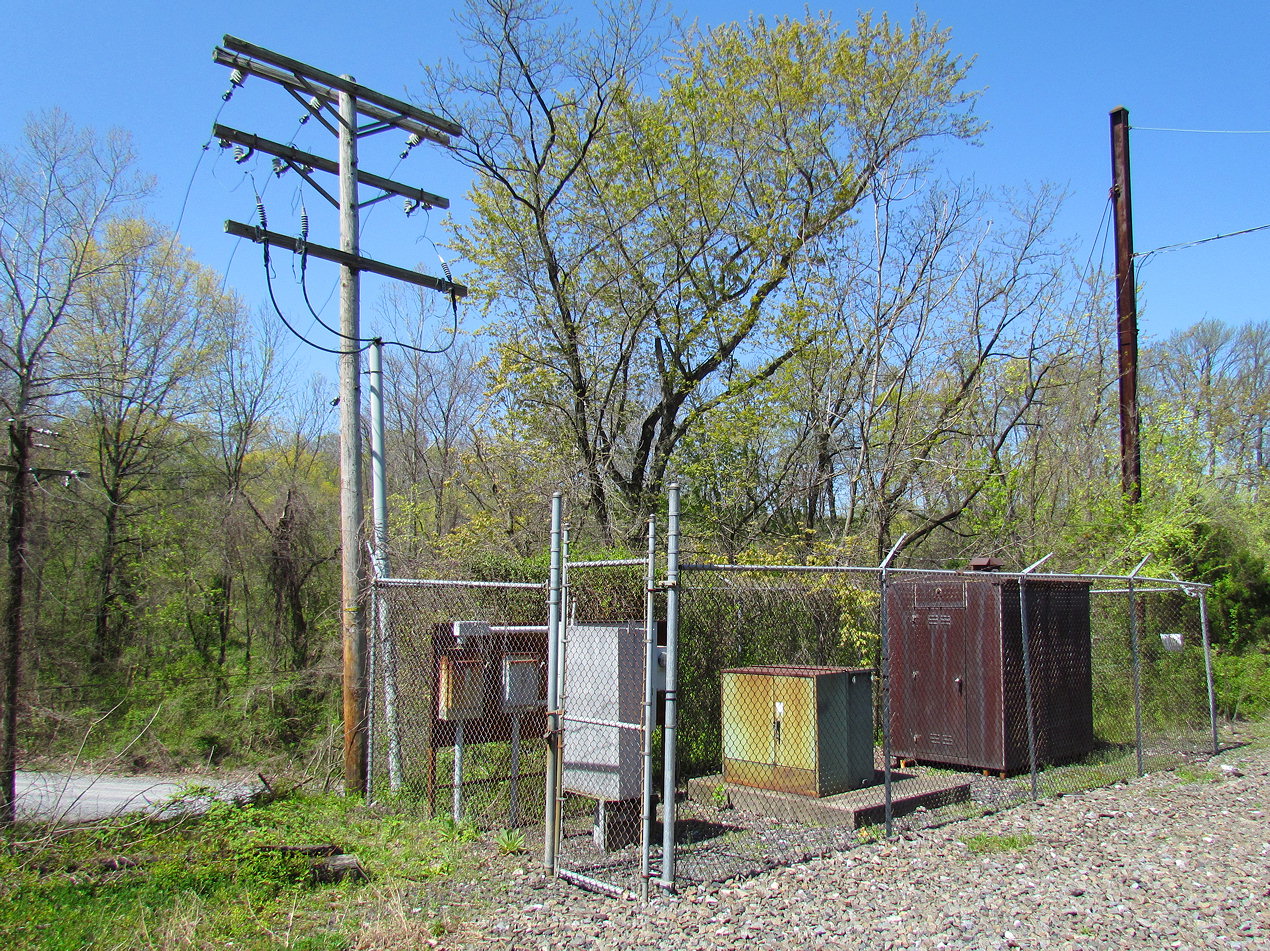
The WAGO relay hut is again typical of Conrail practice being constructed of Corten "protective rust" steel and featuring a milepost number on the blue station sign.

Adjacent to the relay hut is a surviving PRR catenary pole which is currently used to support the wireless (microwave?) "pole line" link to enable the dispatchers remote control. The directional antenna implies this is a point-to-point link to the recently re-signaled COLA interlocking complex. This was also the location for the 100hz signal power supply up until 2009 when NS made other arrangements. This photo was taken at the location of the now removed #3 trailing point crossover. The #3 crossover was present in the 1997 interlocking diagram, but not the 1998 Employee Timetable.
UPDATE: Shortly after my visit in 2012, the #3 trailing crossover was restored to service in anticipation of the Rule 562 re-signaling project that was completed in mid-2015.

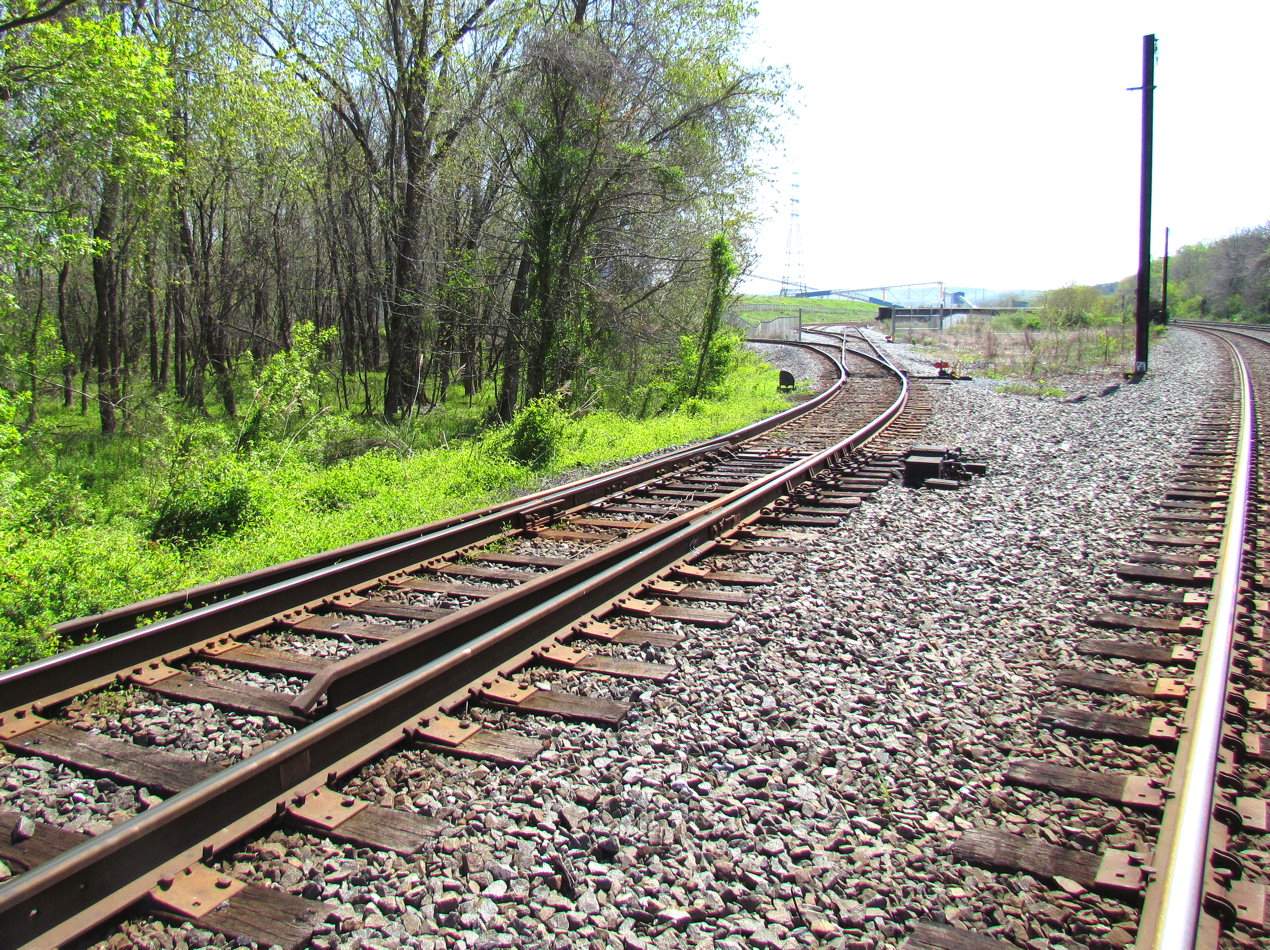
WAGO is almost half a mile long and is split into an east and west portion by the Conewago Creek Bridge. Again the old 2+2 configuration is clearly evident, especially from below where one can see how the Enola branch side of the bridge was rebuilt at one point for heavier loads and now places its trackbed about a foot higher than the NCRR RoW. Even after the NCRR was downgraded a stub track used the alignment through WAGO interlocking, perhaps anticipating complete transfer of the York Secondary to a shortline which would require an interchange capability at Wago Jct.

The east end of the interlocking consists of the #5 switch onto the York Secondary and the #7 switch and derail into the Brunner Island Power Station. In this view we are looking westbound across the Conewago Creek Bridge with both turnouts in the foreground. The York Secondary was originally a #15 crossover between track #1 and the York Secondary / Stub Track. Today this has been reduced to a single turnout with no derail and no stub track. The stub track was present in the 1998 timetable so this change probably took place in the NS era.

Here we see the eastbound view. The east end power supply is also visible supplying the ease end's own relay hut. The old power supply pole is still active as part of the commercial utility power feed which is supplied via the secondary relay hut.

Here is the #7B split point derail on the power plant yard lead. The stub rails will deflect any runaway cars down the RoW embankment.

The derail is protected by the 4W-2 PRR PL dwarf signal with the full range of indications.

The westbound 2W and 4W-1 signals are offset from the 6W dwarf coming off the York Secondary. The 6W used to be paired with a 6E on the stub track, but with the stub's removal it was left as an orphan. Note the former PRR catenary poles which have been chopped down. Between here and SHOCKS the cat poles were of the two-track cantilever variety with a single 138kV circuit above them.

Here in a 2004 photo is the front of the 6W PRR PL dwarf for trains heading off the York Secondary.

The westbound "main line" signals are typical for a crossover in Rule 251 ABS territory with the high 4W-1 signal on the "right direction" track with ABS indications plus Restricting and a full indication dwarf signal for trains reverse direction trains. Back in the day signals like the 2W dwarf would only have Stop and Restricting as possible indications, but by the 1980's the standards had improved. This is a 2004 photo before the catenary poles were chopped down.

Speaking of the distant on the York Secondary, it is located just south of the point where the two Rights of Way converge about 0.8 miles away. The New York Central style "G" Head is numbered 6W and also includes an (A) board to indicate that it is a distant signal and does not convey block information. It has three lamps, but I assume it only displays G(A) and Y(A) for Approach Clear and Approach Restricting.

Well that's it for this episode of Port Road Trips. Next time we will continue to cover SHOCKS interlocking and the two additional surviving PRR PLs on the Enola Branch.
No comments:
Post a Comment